
Roasted Chilli Chickpeas

I don't know about you, but my Facebook feed has been swamped lately with a bunch of kids looking mighty fresh for their first day of school. You too? That just means there's that many parents out there wondering what the heck to pack in their kid's school lunches.I've been out of the elementary school system for a while now (can you tell?), but I must admit, I don't know if I'd survive if I had to do it again in this day and age. I mean, no nuts? How are your kids supposed to soak up the peanut butter and jelly sandwiches that comprise childhood? On second thought, maybe that's a good thing (actually, it's a very good thing!) Though, I recently heard hummus was given the boot at a school in the GTA which makes me carrots-and-hummus-loving heart ache.
Look, if there's anyone that can respect an array of food allergies, it's me. I'm fortunate in that I haven't ever been plagued by food allergies myself, but I can recognize their prevalence and the severity of them amongst the vast majority, be it nuts, gluten, dairy or pollen. I do, however, empathize for you parents who now have to be hyperaware of all of these allergies in the classroom and think up healthy balanced lunches that cater to those – it's not always the easiest, but surely, perhaps with a bit of my help, it's totally possible!
Building a Healthy Balanced Lunch
Let's start with the basics, shall we? (I promise the Roasted Chilli Chickpea recipe is coming shortly!) While I'm not a calorie or macronutrient calculator, I am mindful of the distribution of macronutrients (protein, fat, carbohydrates) when putting together a snack or meal. Typically I aim to have my plate look something like this: 1/4 protein, 1/2 non-starchy vegetables, 1/4 starchy vegetables, 1 tbsp healthy fats (plant-based oils or nuts/seeds if it's not making it's way into the classroom). So what might this look like? It can really look like anything you want and that's the whole idea behind this structure, is that it empowers you to think up new creations each and everyday based upon what your body is telling you it needs.
One day, it might look like this: Organic chicken breast - protein` (1/4 of plate), Massaged kale with sea salt - non starchy vegetables (1/2 plate), Roasted sweet potato - starchy vegetables (1/4 of plate).
Another day, it might look like this: Hummus - protein (1/4 of plate), Cucumber Slices - non starchy vegetables (1/2 of plate), Gluten-Free Crackers (such as Mary's Gone Crackers) - starchy vegetables (1/4 plate)
Get what I'm saying? After that, it simply becomes a mix-and-match scenario while being mindful of which food allergies you have to workaround. Though I'm not allergic, I eat predominately gluten, dairy and refined-sugar free. This means that I've had to find alternatives for foods that I used to eat, which is what you may have to embody as well. Once you become familiar with it, it really does become easier.

Instead of dairy, think coconut (coconut milk, coconut oil, coconut chips, coconut butter).
Instead of wheat, swap in gluten-free alternatives such as quinoa, millet, brown rice, buckwheat, amaranth-based grains. Instead of nuts, think seeds (hemp seeds, sunflower seeds, sesame seeds - which is an excellent plant-based source of calcium by the way or pumpkin seeds).
There are always options. Will there be extra effort required? Sometimes. But being hyperaware and more mindful of what's going into yours and your kid's lunches will always serve you better. Are we ready to talk snacks now?
I love snacks. Luckily, the healthy snack food industry is expanding at a rapid rate with some awesome brands such as Nud Fud, Kewaza, Buddha Brands, Yes Peas and Mary's Gone Crackers coming out with some awesome organic and non-GMO healthy snacks. But with that, comes a price (naturally) – and again, though I love these brands, it's a sad moment when your $8 snack purchase comes to an end within a matter of minutes, sometimes even seconds.
For that reason, I'm a huge advocate of making my own homemade healthified version of my favourite foods whenever I can so I can be aware of what ingredients are going into my food and save on additional costs where possible. When I came across my newsfeed of smiley kids on their first day of school, my next thought was – what are those parents going to put into their lunch boxes?! And so, I whipped together a favourite that you too (and hopefully your children) will enjoy – Roasted Chilli Chickpeas!
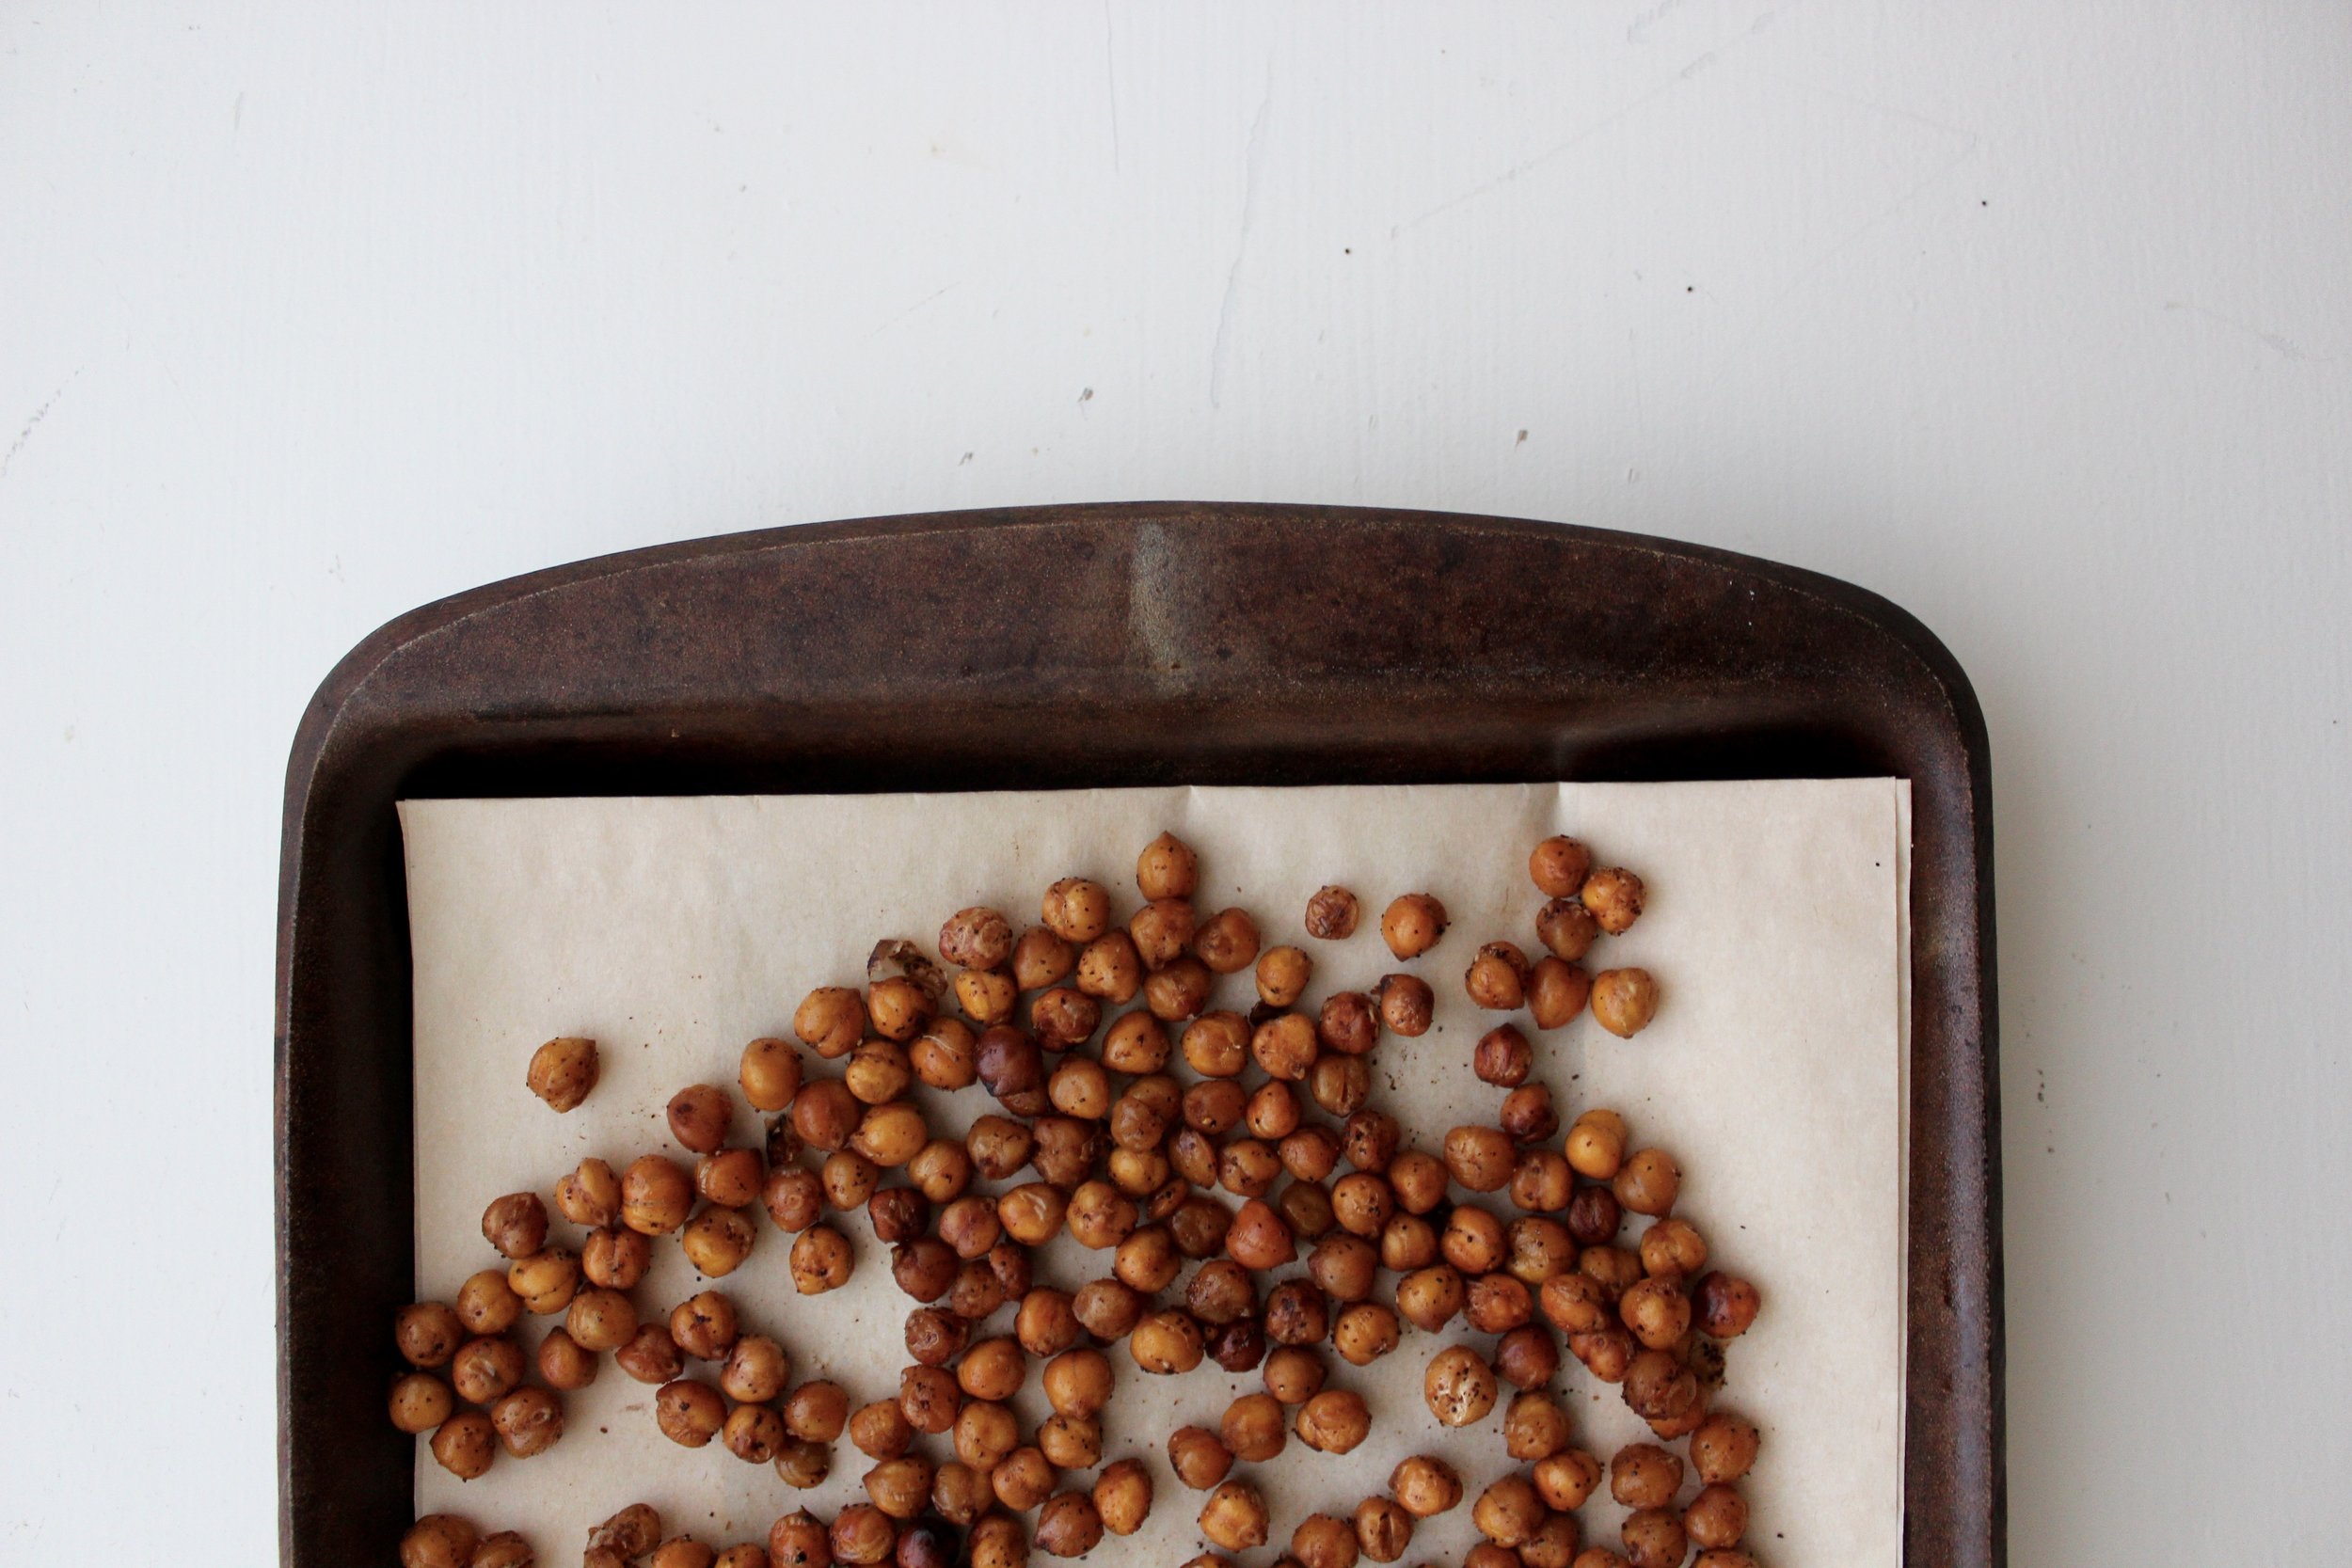
These Roasted Chilli Chickpeas tend to come with a "WOW" factor, for both their simplicity and deliciousness! They contain loads of fibre and protein to make it a truly satiating snack that will keep your blood sugar in check and keep your kids from bouncing off the walls (like they would be if they had a refined chocolate pudding or chocolate bar instead). They're super crunchy and can be jazzed up in whichever way you please, be it salty, sweet or both! I did these with organic chilli powder and a pinch of sea salt, but you could even season them with cinnamon and a pinch of organic cane sugar or black pepper and lime – the possibilities are endless!
Cost Saving Tip: The below recipe calls for canned chickpeas, but you're more than welcome to use dried bagged chickpeas by rehydrating them in water for 4 hours, boiling them and drying them. You'll get more bang for your buck and don't have to worry about BPA-lined cans.
Fun Fact Tip: If you choose to move forward with the BPA-free canned chickpeas, be sure to save the Aquafaba – the brine that the chickpeas sit in that people typically throw out. It has become the latest craze in vegan baking as a replacement for egg whites!
Roasted Chilli Chickpeas

Ingredients
1 can of canned BPA-free chickpeas (I like Eden Organics)
1/8 cup olive oil
1 tbsp organic chilli powder
1/2 tsp sea salt
Directions
Preheat oven to 400F.
Open the can of chickpeas and place in a sieve and rinse under filtered water.
Pour the chickpeas over a dish cloth or paper towel and cover with another towel. Pat dry until completely dry.
Lay down a piece of parchment paper onto a baking sheet and pour chickpeas on top.
Drizzle olive oil, chilli powder and and sea salt over chickpeas and toss with your hands, making sure all chickpeas are coated with the seasoning.
Place in oven for 25-30 minutes. Monitor closely around the last 5-10 minutes to ensure they aren't burning (as all ovens are different).
When complete, remove from heat and let cool. Store in air tight container.
What's your go-to healthy and allergen-friendly school snack?